Cài đặt đồng bộ dữ liệu Google Drive với máy tính
- Chủ nhật - 19/07/2020 20:43
- In ra
- Đóng cửa sổ này

Ngoài ra, Google Drive còn hỗ trợ tính năng đồng bộ hoá và sao lưu dữ liệu nhanh trên máy tính lên Drive và ngược lại. Giúp bạn có thể làm việc tại bất cứ đâu, chỉ cần máy tính hoặc thiết bị điện di động của bạn có kết nối mạng Internet.
Nếu như bạn đã từng sử dụng dịch vụ lưu trữ trực tuyến Dropbox rồi thì bạn có thể hình dung ra việc sử dụng Google Drive cũng hoàn toàn tương tự như vậy.
Vâng, để đồng bộ hoá dữ liệu giữa Google Drive với máy tính và các thiết bị di động thành công, và cũng là để giúp các bạn hiểu hơn về Google Drive thì trong bài viết ngày hôm nay mình sẽ hướng dẫn cho các bạn từng bước cụ thể, để các bạn có thể dễ dàng hiểu được tính năng đồng bộ hoá (Sync) Google Drive trên máy tính của mình.
#1. Hướng dẫn cài đặt cấu hình tài khoản Google Drive trên máy tính
+ Bước 1: Sạn đăng nhập vào link liên kết sau: https://www.google.com/drive/download/ => rồi click vào nút Tải xuống tại phần Cá nhân (Personal) - Sao lưu và đồng bộ hoá.
Để sử dụng các dữ liệu được đồng bộ trên điện thoại thì bạn chỉ cần tải và cài đặt ứng dụng Google Drive vào Smartphone của bạn là được.
- Google Drive cho iOS (iPhone, iPad..)
- Google Drive cho Android (SamSung, Oppo, LG, HTC…)

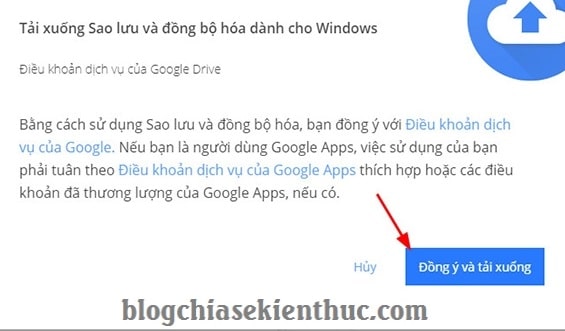
+ Bước 2: Tiếp theo bạn chọn Đồng ý và tải xuống để xác nhận việc tải về file cài đặt.
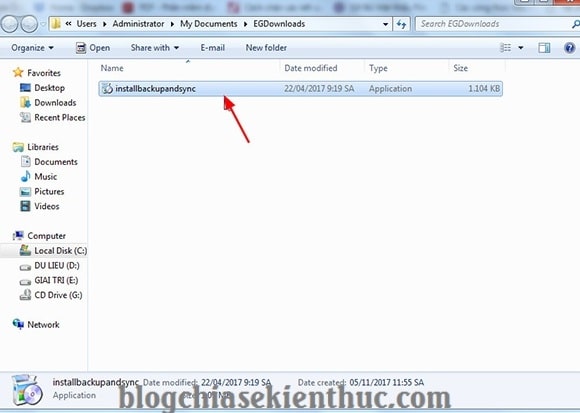
+ Bước 3: Tại đây bạn click đúp chuột vào file mới tải về để chúng ta bắt đầu quá trình cài đặt ứng dụng Google Drive trên máy tính.
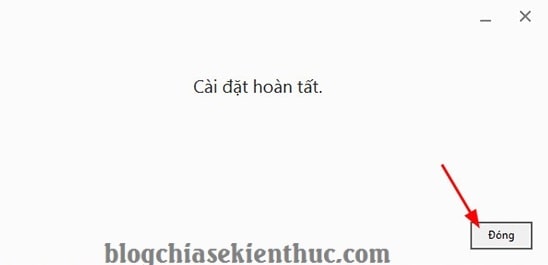
+ Bước 4: Sau khi cài đặt xong, bạn click Đóng để hoàn tất.
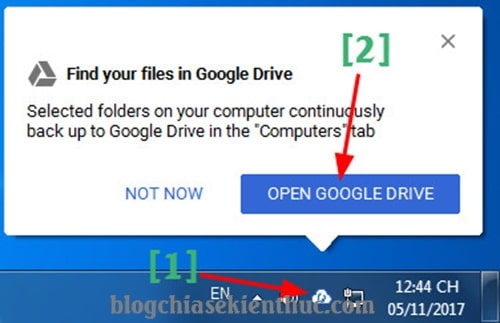
+ Bước 5: Lúc này ở dưới thanh Taskbar sẽ có một icon của Google Drive ở đây. Biểu tượng đám mây như hình bên dưới..
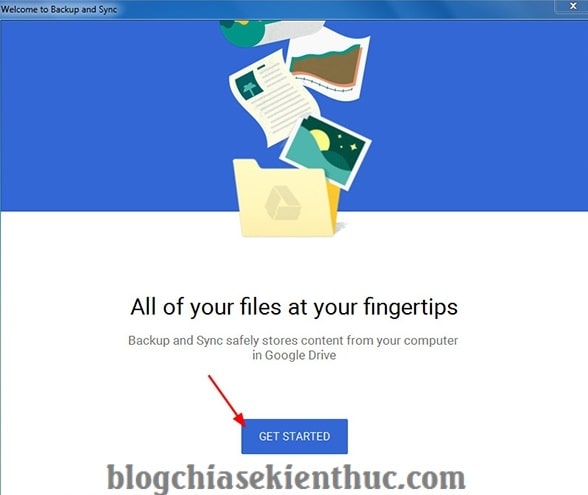
+ Bước 6: Tiếp theo phần mềm sẽ hiển thị một thông báo với nội dung là All or your files as your fingertips. Bạn click chọn GET STARTED để tiếp tục cài đặt cấu hình.
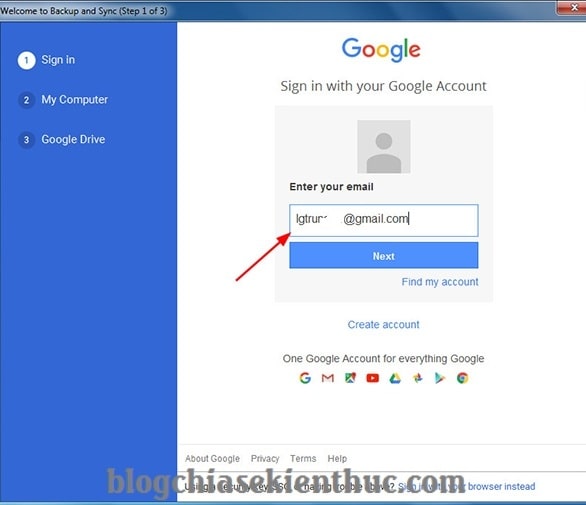
+ Bước 7: Sau đó bạn nhập địa chỉ tài khoản Google Drive ( tài khoản Gmail ) mà bạn muốn đồng bộ hoá vào => và click Next để đăng nhập vào tài khoản.
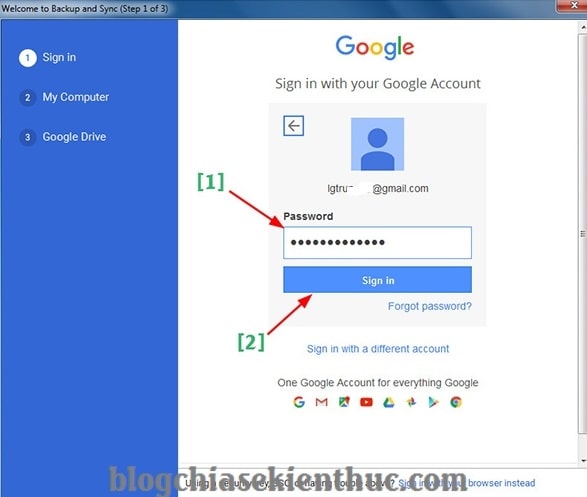
+ Bước 8: Rồi bạn nhập mật khẩu của tài khoản Google Drive (tài khoản gmail) => rồi nhấn Sign In để đăng nhập.
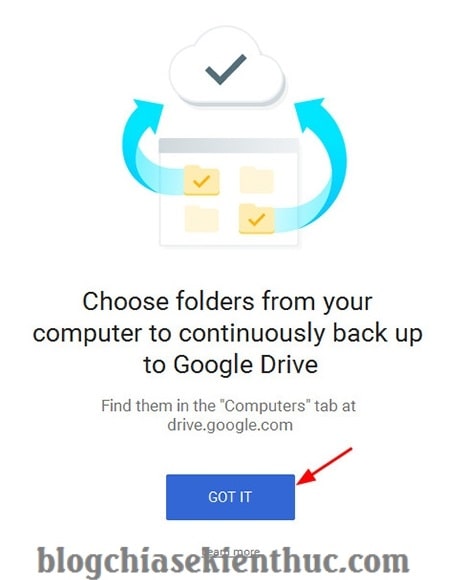
+ Bước 9: Tiếp theo bạn click vào GOT IT để chọn đồng bộ hoá.
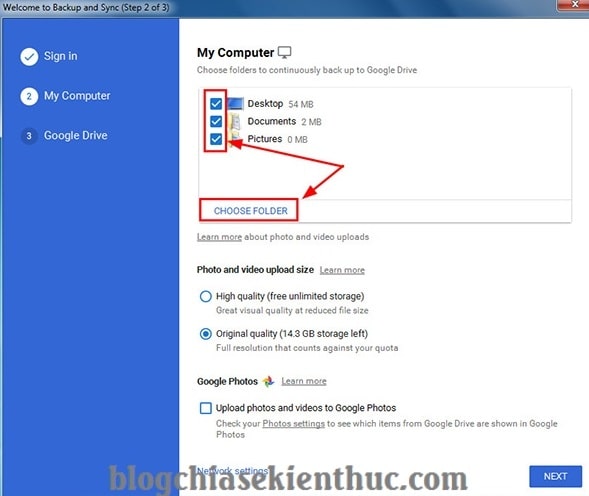
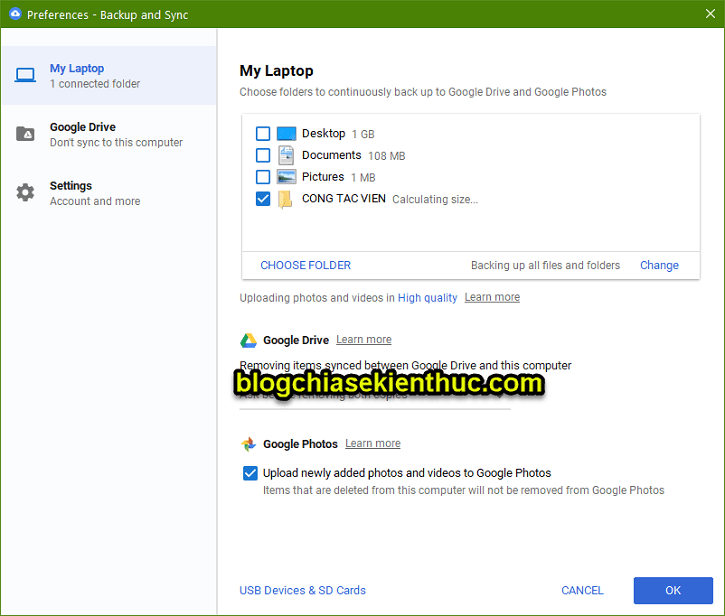
+ Bước 10: Tại đây, Google Drive sẽ đưa ra một số thư mục mặc định để đồng bộ hoá là Desktop, Document và Pictures.
Bạn có thể click bỏ chọn nếu bạn cảm thấy không muốn đồng bộ hoá nó lên tài khoản Google Drive. Mình thì thường bỏ tích hết mấy mục này.
Mà thay vào đó, mình sẽ thiết lập những như mục thực sự cần thiết để đồng bộ nó lên Google Drive thôi. Bạn thực hiên như sau:
Click vào CHOOSE FOLDER => và chọn các thư mục quan trọng có trên máy tính mà bạn muốn đồng bộ hoá nó lên tài khoản Google Drive.
// Đây là phần thiết lập đồng bộ dữ liệu từ máy tính lên Google Drive nha các bạn.
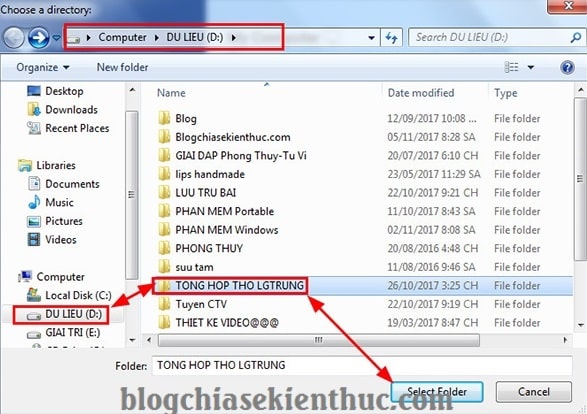
Ví dụ ở đây mình muốn chọn thêm một Folder mà mình hay dùng và tương đối quan trọng để đồng bộ sao lưu dữ liệu.
Mình sẽ click vào CHOOSE FOLDER => và chọn tới thư mục mình muốn đồng bộ => Sau đó click chọn Select Folder để thêm thư mục đồng bộ hoá trên máy tính.
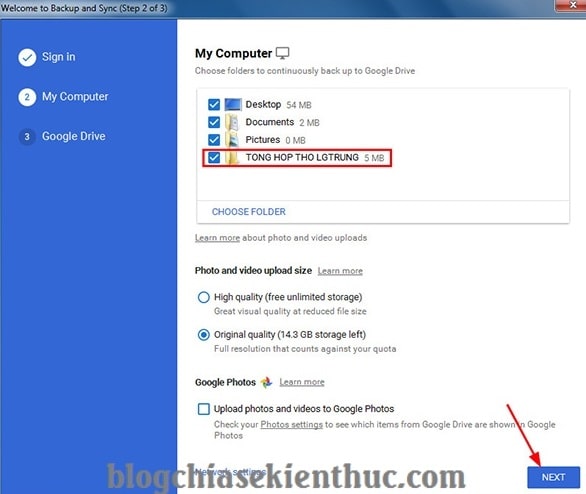
+ Bước 11: Đấy, thư mục mình vừa chọn đã được thêm vào danh sách đồng bộ. Bạn nhấn Next để tiếp tục.
+ Bước 12: Chọn GOT IT để đồng ý việc đồng bộ hóa.
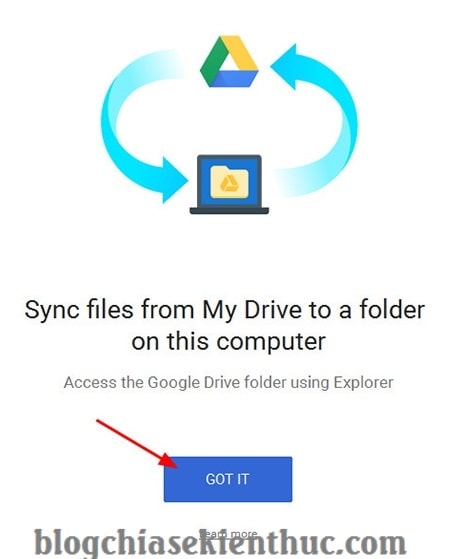
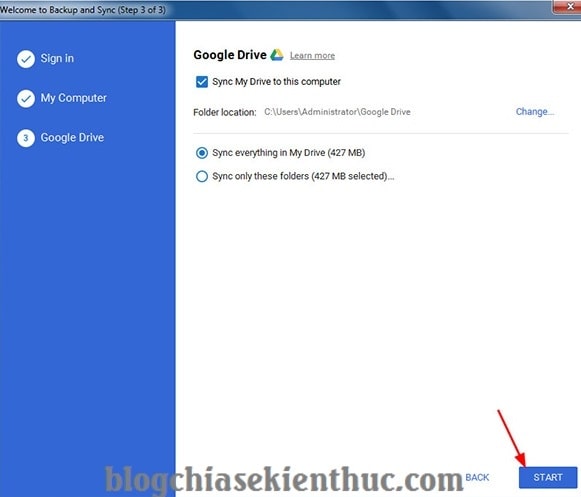
+ Bước 13: Đây là phần thiết lập đồng bộ ngược lại từ Google Drive về máy tính. Bạn có thể sao lưu toàn bộ dữ liệu có trên Google Drive về máy tính một cách dễ dàng.
Nếu bạn muốn sử dụng tính năng này thì bạn nên nhấn vào nút Change... và chọn thư mục mà bạn muốn lưu trong phân vùng ổ D, E… Vì mặc định nó sẽ được lưu trữ ở ngoài màn hình Desktop nên rất tốn dung lương của ổ C.
Mình thì không muốn đồng bộ dữ liệu từ Google Drive về máy tính nên mình sẽ bỏ tích ở phần Syn My Drive to this computer.
Sau đó click START để bắt đầu đồng bộ dữ liệu từ máy tính, và ngược lại.
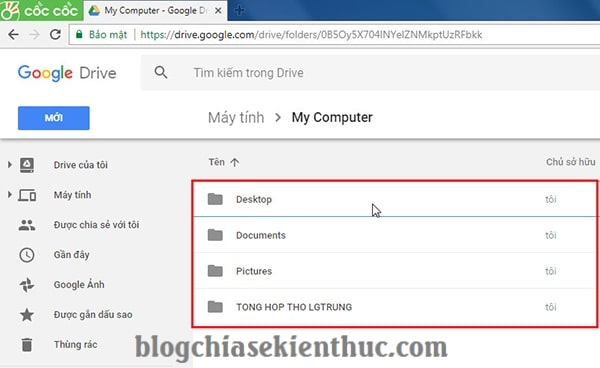
+ Bước 14: Kết quả đây nhé các bạn. Bạn vào lại tài khoản Google Drive => và vào mục Máy tính để xem các thư mục mà bạn đã đồng bộ từ máy tính lên.
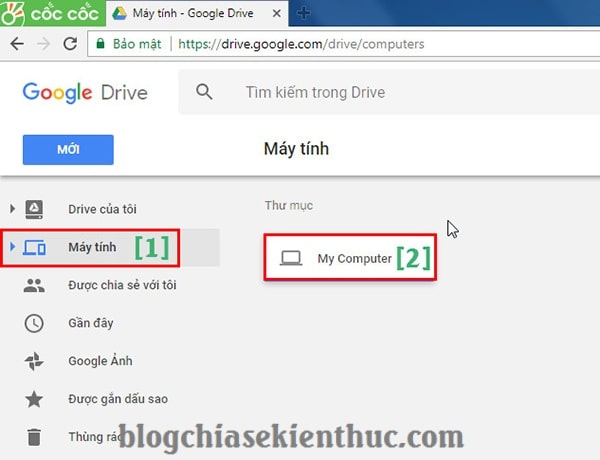
Các thư mục trên máy tính đã được đồng bộ lên tài khoản Google Drive của bạn.
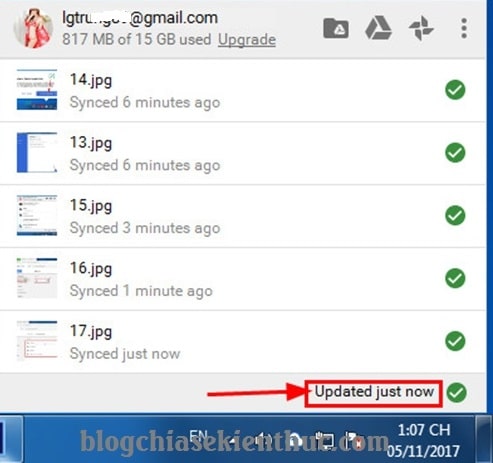
Và tất nhiên bạn cần phải chờ một lúc thì mới thấy được, vì quá trình đồng bộ hoá sẽ phải diễn ra trong vòng ít phút, nhanh hay chậm thì còn tuỳ thuộc vào số lượng cũng như dung lượng file mà bạn đồng bộ.

Bạn có thể quản phần mềm Google Drive ngay trên máy tính.
// *đọc thêm*//
Bạn có thể truy cập lại vào phần thiết lập một cách cực kỳ đơn giản, bạn làm theo hướng dẫn sau. Thực hiện:
Click chuột phải vào icon của Google Drive trên thanh Taskbar => nhấn vào dấu 3 chấm nằm dọc => và chọn Preferences....
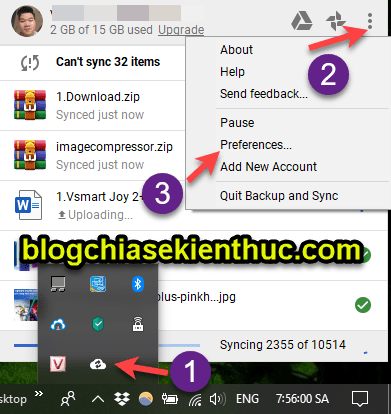
Okay, tại đây bạn có thể dễ dàng thiết lập lại những thư mục mà bạn muốn đồng bộ hoặc ngưng đồng bộ rồi 😀
// *hết phần đọc thêm*//
#2. Hướng dẫn sử dụng ứng dụng Google Drive trên máy tính
Sau khi cài đặt phần Google Drive xong thì trên màn hình Desktop sẽ xuất hiện một số ứng dụng truy cập nhanh như :
- Google Slides (giống như ứng dụng PowerPoint)
- Google Docs (giống như ứng dụng Word)
- Google Sheet (giống như ứng dụng Excel)
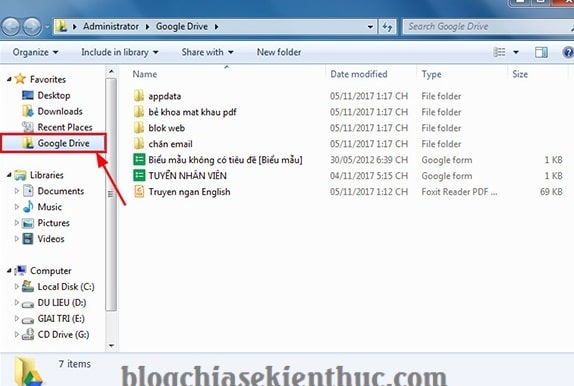
- Goole Drive (quản lý tệp tin đồng bộ hoá trên Drive).

Tại thư mục Google Drive bạn có thể kiểm soát các tệp tin trên tài khoản Google Drive của mình bằng cách xoá bỏ, hoặc kéo thả và Paste các tệp tin mới vào.
Và các tệp tin đã xóa sẽ biến mất trên tài khoản trực tuyến Google Drive, ngược lại các file mới sẽ được đồng bộ lên tài khoản Google Drive của mình
Nói chung là cũng tương tự như các thư mục bạn chọn đồng bộ hoá tại bước 10, 11 cũng sẽ luôn được cập nhật lên dịch vụ lưu trữ đám mây Google Drive.
#3. Lời kết
Ok, với cách thức đồng bộ hóa dữ liệu giữa máy tính và tài khoản Google Drive này thì bạn có thể sử dụng các thông tin trên máy tính của mình ở mọi lúc và mọi nơi rồi, chỉ cần một điều kiện đó là có Internet là được.
Bạn có thể sử dụng các dữ liệu khi cần thiết ở bất cứ nơi đâu mà không cần bất kỳ thiết bị lưu trữ cầm tay (USB, thẻ nhớ…) nào khác.
Đến đây thì bài hướng dẫn đồng bộ dữ liệu Google Drive với máy tính của mình cũng xin được kết thúc. Hi vọng thủ thuật này sẽ hữu ích với các bạn.
Chúc các bạn thành công.